Beginner Tips for Composting at Home: Simple Steps to Start

Composting is a great way to reduce waste and improve your garden’s health. If you’re new to composting, the process might seem complicated, but it doesn’t have to be. With a few simple steps, you can start turning your kitchen scraps and yard waste into rich, natural fertilizer. This guide will walk you through beginner tips to make composting at home easy and rewarding.
Why Compost at Home?
Composting helps reduce the amount of organic waste sent to landfills, lowers greenhouse gas emissions, and provides nutrient-rich soil that helps your plants grow. It’s an eco-friendly practice that benefits your garden and the environment.
Getting Started: What You Need
Choose a Compost Bin or Pile
You can compost in many ways: a compost bin, a compost tumbler, or simply a pile in your backyard. Bins help keep the area tidy and deter pests, while a pile can be easier if you have lots of space.
Consider the following when selecting your compost setup:
– Space available: A small bin works for limited space; a pile suits larger gardens.
– Ease of turning: Bins or tumblers that allow easy mixing speed up decomposition.
– Aesthetics: Choose something that fits your yard’s style.
Pick a Good Location
Place your compost bin or pile in a dry, shady spot. Too much sun can dry it out, while too much shade may slow the breakdown. Good airflow is important, so avoid cramped corners.
What to Compost: The Basics
Composting relies on a balance of two types of materials:
Greens (Nitrogen-Rich)
These provide nitrogen, which microbes need to break down material. Examples include:
– Fruit and vegetable scraps
– Coffee grounds and tea bags
– Fresh grass clippings
– Plant trimmings
Browns (Carbon-Rich)
These provide carbon, giving structure and energy to the compost pile. Examples include:
– Dry leaves
– Straw or hay
– Shredded paper or cardboard (non-glossy)
– Wood chips or sawdust (in small amounts)
Avoid These Items
Some materials do not compost well or can harm your pile:
– Meat, dairy, and oily foods (attract pests)
– Diseased plants or weeds with seeds
– Pet waste
– Synthetic materials or plastics
Building Your Compost Pile
Start by layering browns and greens. A good rule of thumb is to use about three parts browns to one part greens. This helps maintain the right balance for decomposition.
Step-by-Step:
- Place a layer of coarse browns like twigs or straw at the bottom for airflow.
- Add a layer of greens (food scraps, grass clippings).
- Add a thicker layer of browns.
- Alternate layers until your bin or pile is full.
Maintaining Your Compost
Keep it Moist
Your compost should feel like a damp sponge—not too wet or dry. If it’s too dry, add water. If too wet, add more browns like dry leaves or shredded paper.
Turn or Mix Regularly
Turning the compost every 1-2 weeks with a garden fork or compost aerator introduces oxygen, speeding up decomposition and preventing odors.
Monitor Temperature
A healthy compost pile heats up as microbes work. If it’s warm to the touch, decomposition is happening. If it cools down, turning or adding fresh greens can help.
Troubleshooting Common Issues
– Foul smell: Usually caused by too much moisture or greens. Add browns and turn the pile.
– Pile not heating: Add more greens, turn the pile, and check moisture.
– Pests: Avoid adding meat or oily foods. Cover food scraps with browns.
Using Your Finished Compost
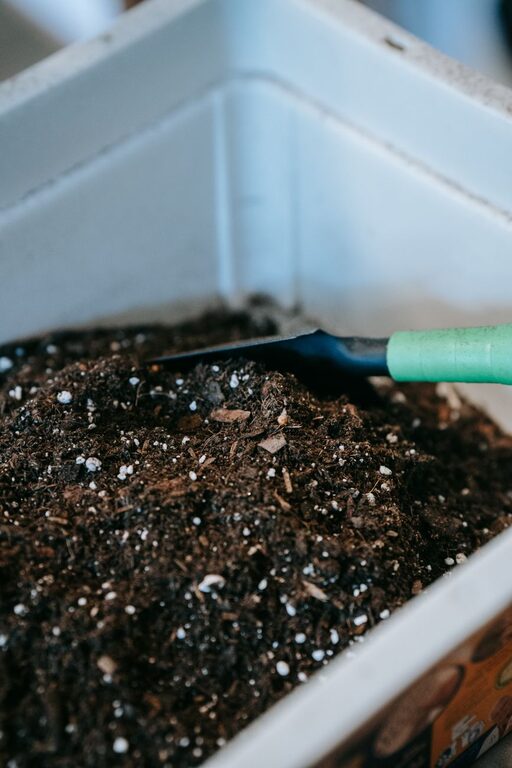
After a few months, your compost will look dark, crumbly, and smell earthy. This “black gold” is great for:
– Mixing into garden beds
– Topdressing lawns
– Potting mix for houseplants
Final Tips for Success
– Chop scraps into smaller pieces to speed up decomposition.
– Be patient; composting can take from a few months to a year.
– Use a compost thermometer if you want to monitor the process more closely.
– Consider composting worms (vermicomposting) for an indoor option.
Starting composting at home is a fun and rewarding way to reduce waste and nurture your garden. With these beginner tips, you’ll enjoy the benefits of healthier plants and a greener lifestyle in no time!